VIKING 180/195 TURBO ENGINE SPECIFIC
***PLEASE NOTE: THE REMOVAL OF ANY GEARBOX REQUIRES A NEW CENTERING BUSHING, EVERY TIME***
Please use the Viking 130 videos as a great base for your turbo engine installation. The videos below are a basic overview of our turbo installations.
Viking 195T Exhaust and Support Bracket

Add connector if it is too low and hits the cowling as shown in the two pictures below:


INTERCOOLER INSTALLATION
Here we showcase different methods to bring air to your intercooler. A rule of thumb for intercoolers is that there can never be enough cooling.
Do not run without cowling unless an intercooler scoop is attached to the intercooler. In some installations, the scoop is part of the cowling

Adam Andrews (above) is demonstrating the construction of our aluminum intercooler air inlet kit. Basically, it is rivetted together and then rivetted to the intercooler. This scoop protrudes through the side of the cowling; therefore, a hole has to be made for it and some provision for cowling removal.


For our smaller 140T engine, as an optional scoop for the 195T (combined with the aluminum air box) this NACA intercooler scoop is available as an upgrade. When mounted for the 195T engine, it is mounted into the lower cowling and not at the cowling split.
Viking 195T NEW Cowling Installation
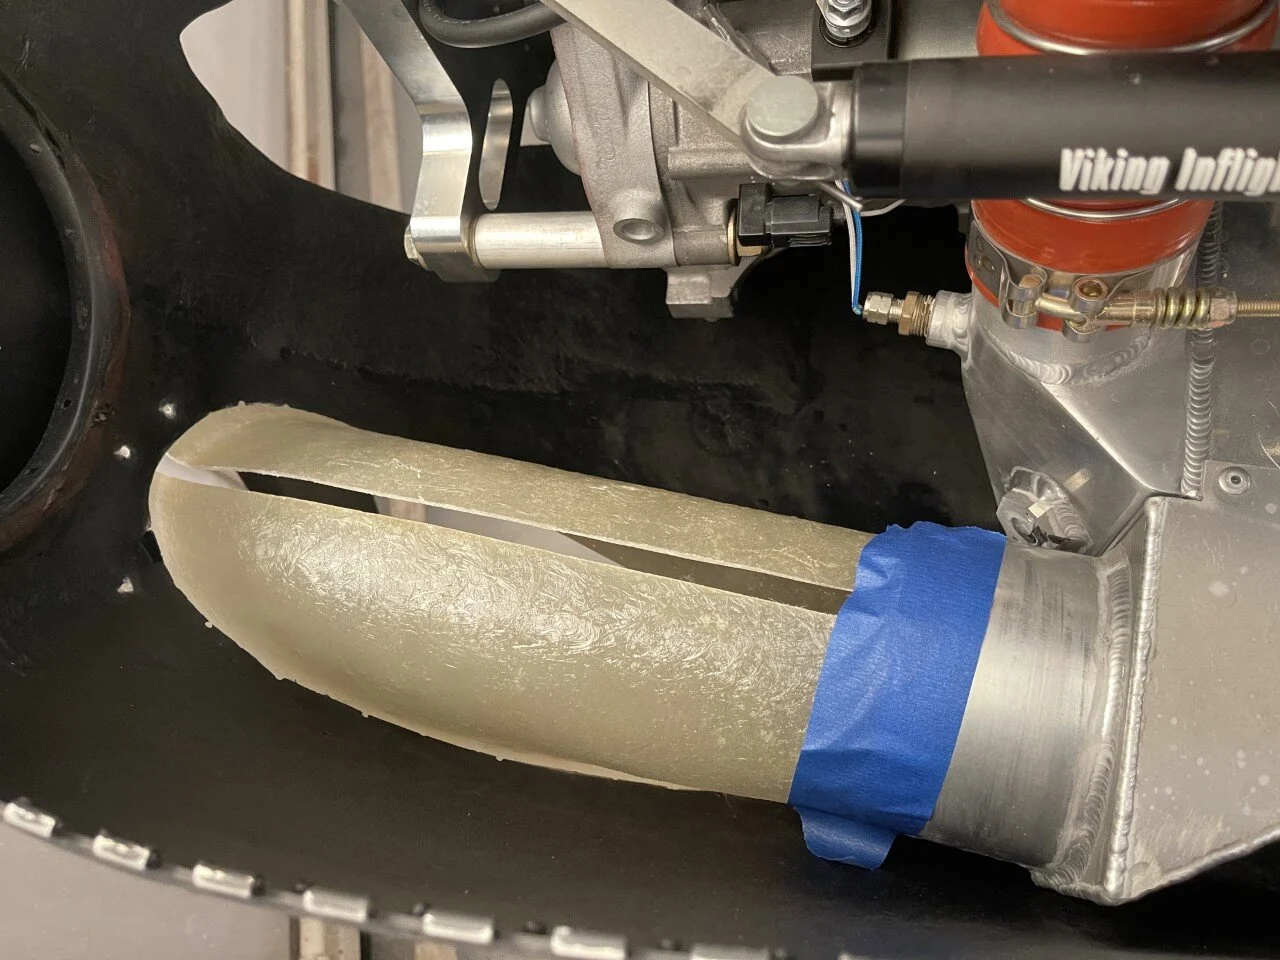
After completing the shroud, it can be installed on the intercooler. Carefully align it to the cooler and drill 4 holes for the rivets. Be EXTREMELY careful when drilling not to drill past the first row of cooling fins, anything past this and you are drilling a hole in your intercooler. One way to do this is to use a drill stop or simply adding a short tube on the drill bit. The shroud is designed to exit the cowling directly so a provision to the cowling has to be made for it.

Tape pattern to cowling with the top level with the top of the cowling, align with spinner inboard, on cowling corner outboard and align with radiator air inlet scoop at the bottom. Mark and cut opening undersized initially.

Test fit parts using tape

Repeat test fitting with other half.
Align parts and rivet or glue (hi-sol) parts to cowling. Fiberglass halves together or rivet soft aluminum strips if you don’t want to do fiberglass work. There is no requirement to be 100% leak free since there is plenty of air to the intercooler. Therefor, we usually leave the duct an 1/8 short of the intercooler to facilitate ease of cowling installation/removal.
*The shape of the cowling might change with the top cowling installed and you might want to align the duct with the top cowling installed.
Cowling/Radiator Shroud Install
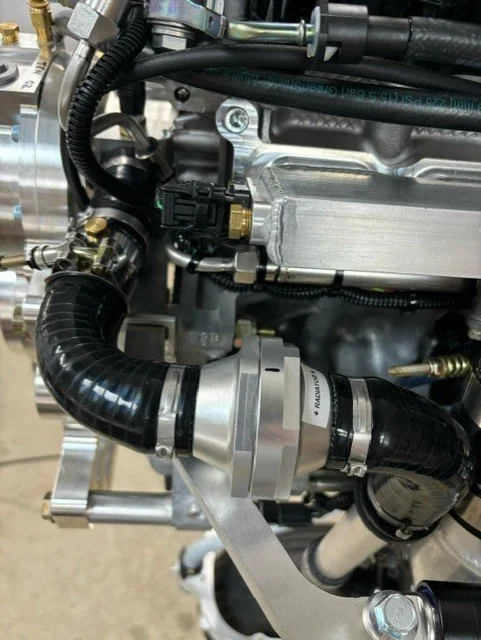
Radiator plumbing on the Viking 195T if using a variable pitch/constant speed controller