
COOLING SYSTEM AND RADIATOR SHROUD
***PLEASE NOTE: THE REMOVAL OF ANY GEARBOX REQUIRES A NEW CENTERING BUSHING, EVERY TIME***
Latest version:
The Coolant overflow bottle should be under the overflow outlet on the firewall.
Please note that there are slight variations in radiator shrouds depending on aircraft/engine combination. Any Zenith with the new style cowling has the front scoop built into the cowling.
Filling with coolant. There is a video over in “First Engine Start” tab. In addition you’ll need to fill it at the highest point in the cooling system before clamping it off instead of the clamp shown in the older video. A video for filling the no pressure cooling system is below.
You will have to run it a few times up to operating temperature and let it cool down to draw more coolant in, make sure plenty of coolant is in the reservoir during this process.
When installing on a Zenith Aircraft, the floor cross brace will get in the way, as shown in the image below, and you will need to notch it out. Many opt to move the floor brace on the inside of the aircraft. Either option works and is adequate.

Watch this video if you are trying to add the front airbox to pre-existing radiator shroud.
Viking 195T Cooling/Heater
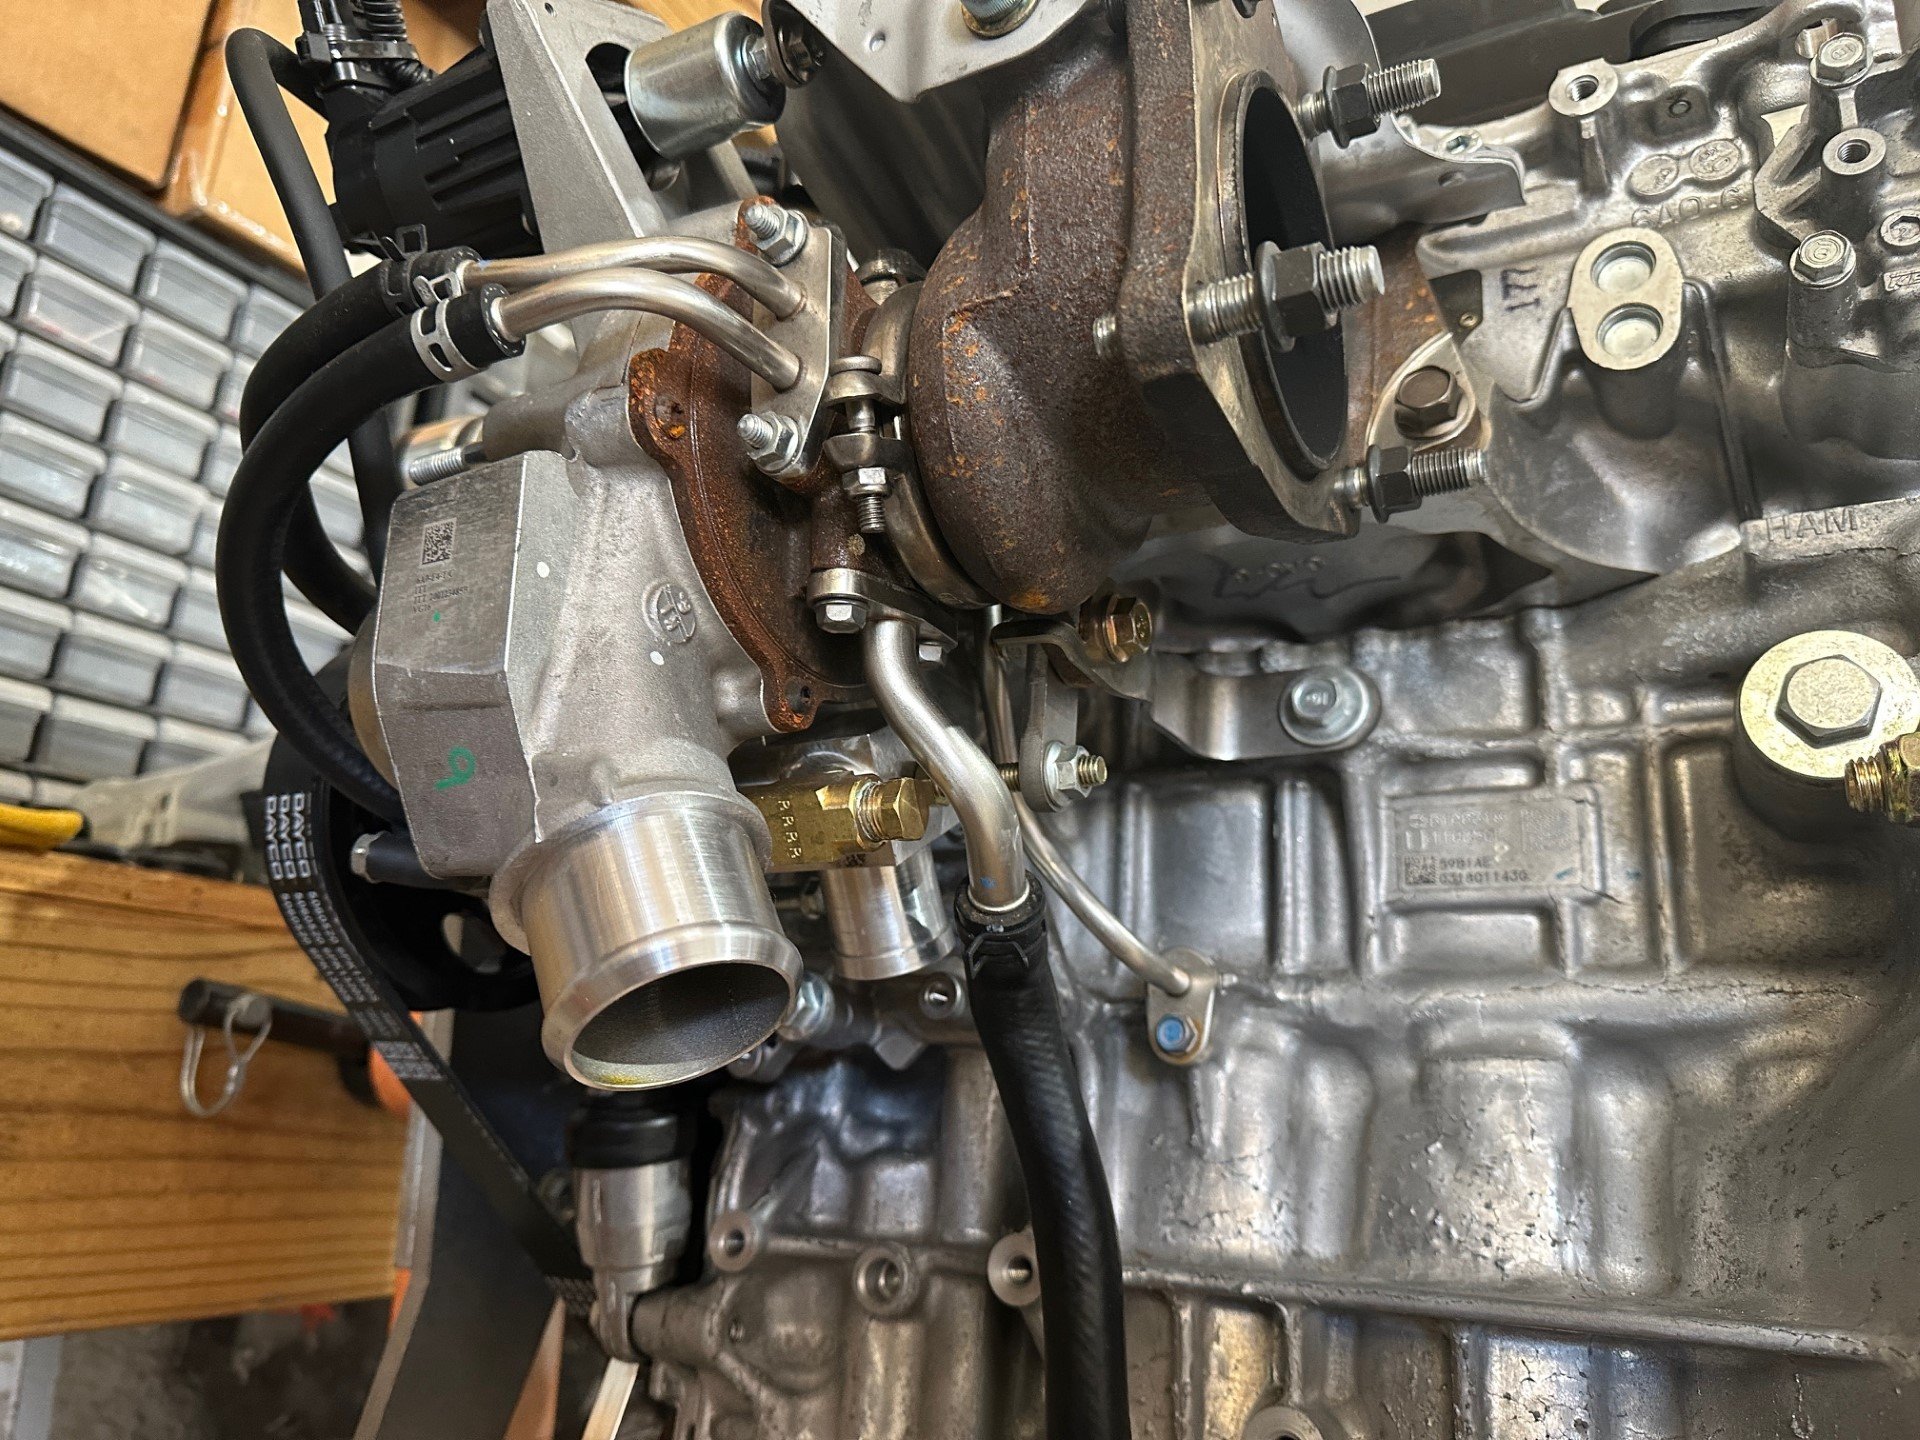
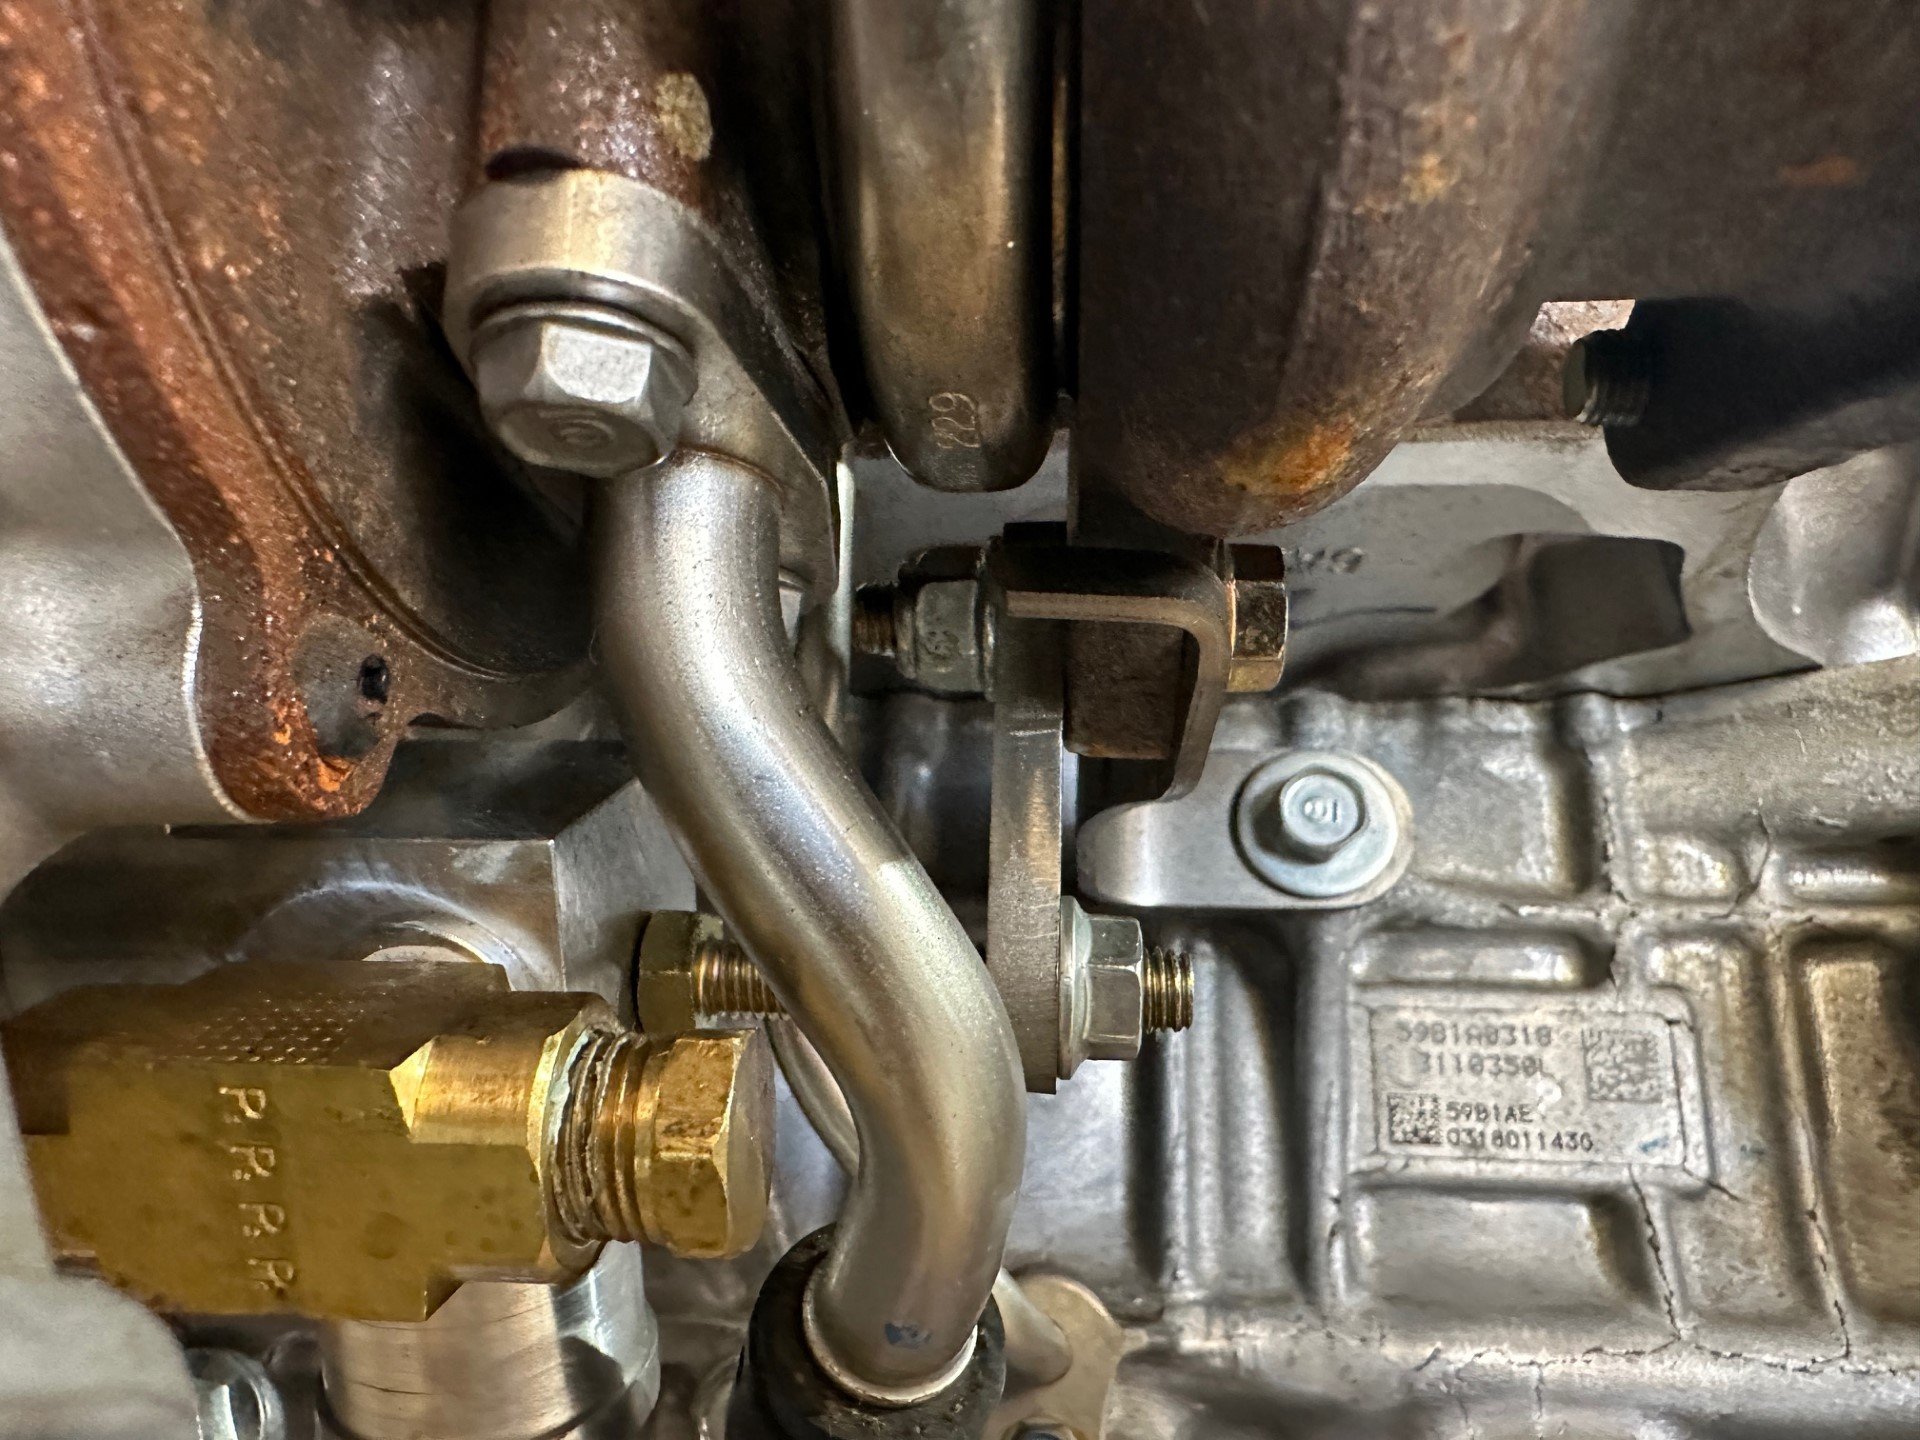
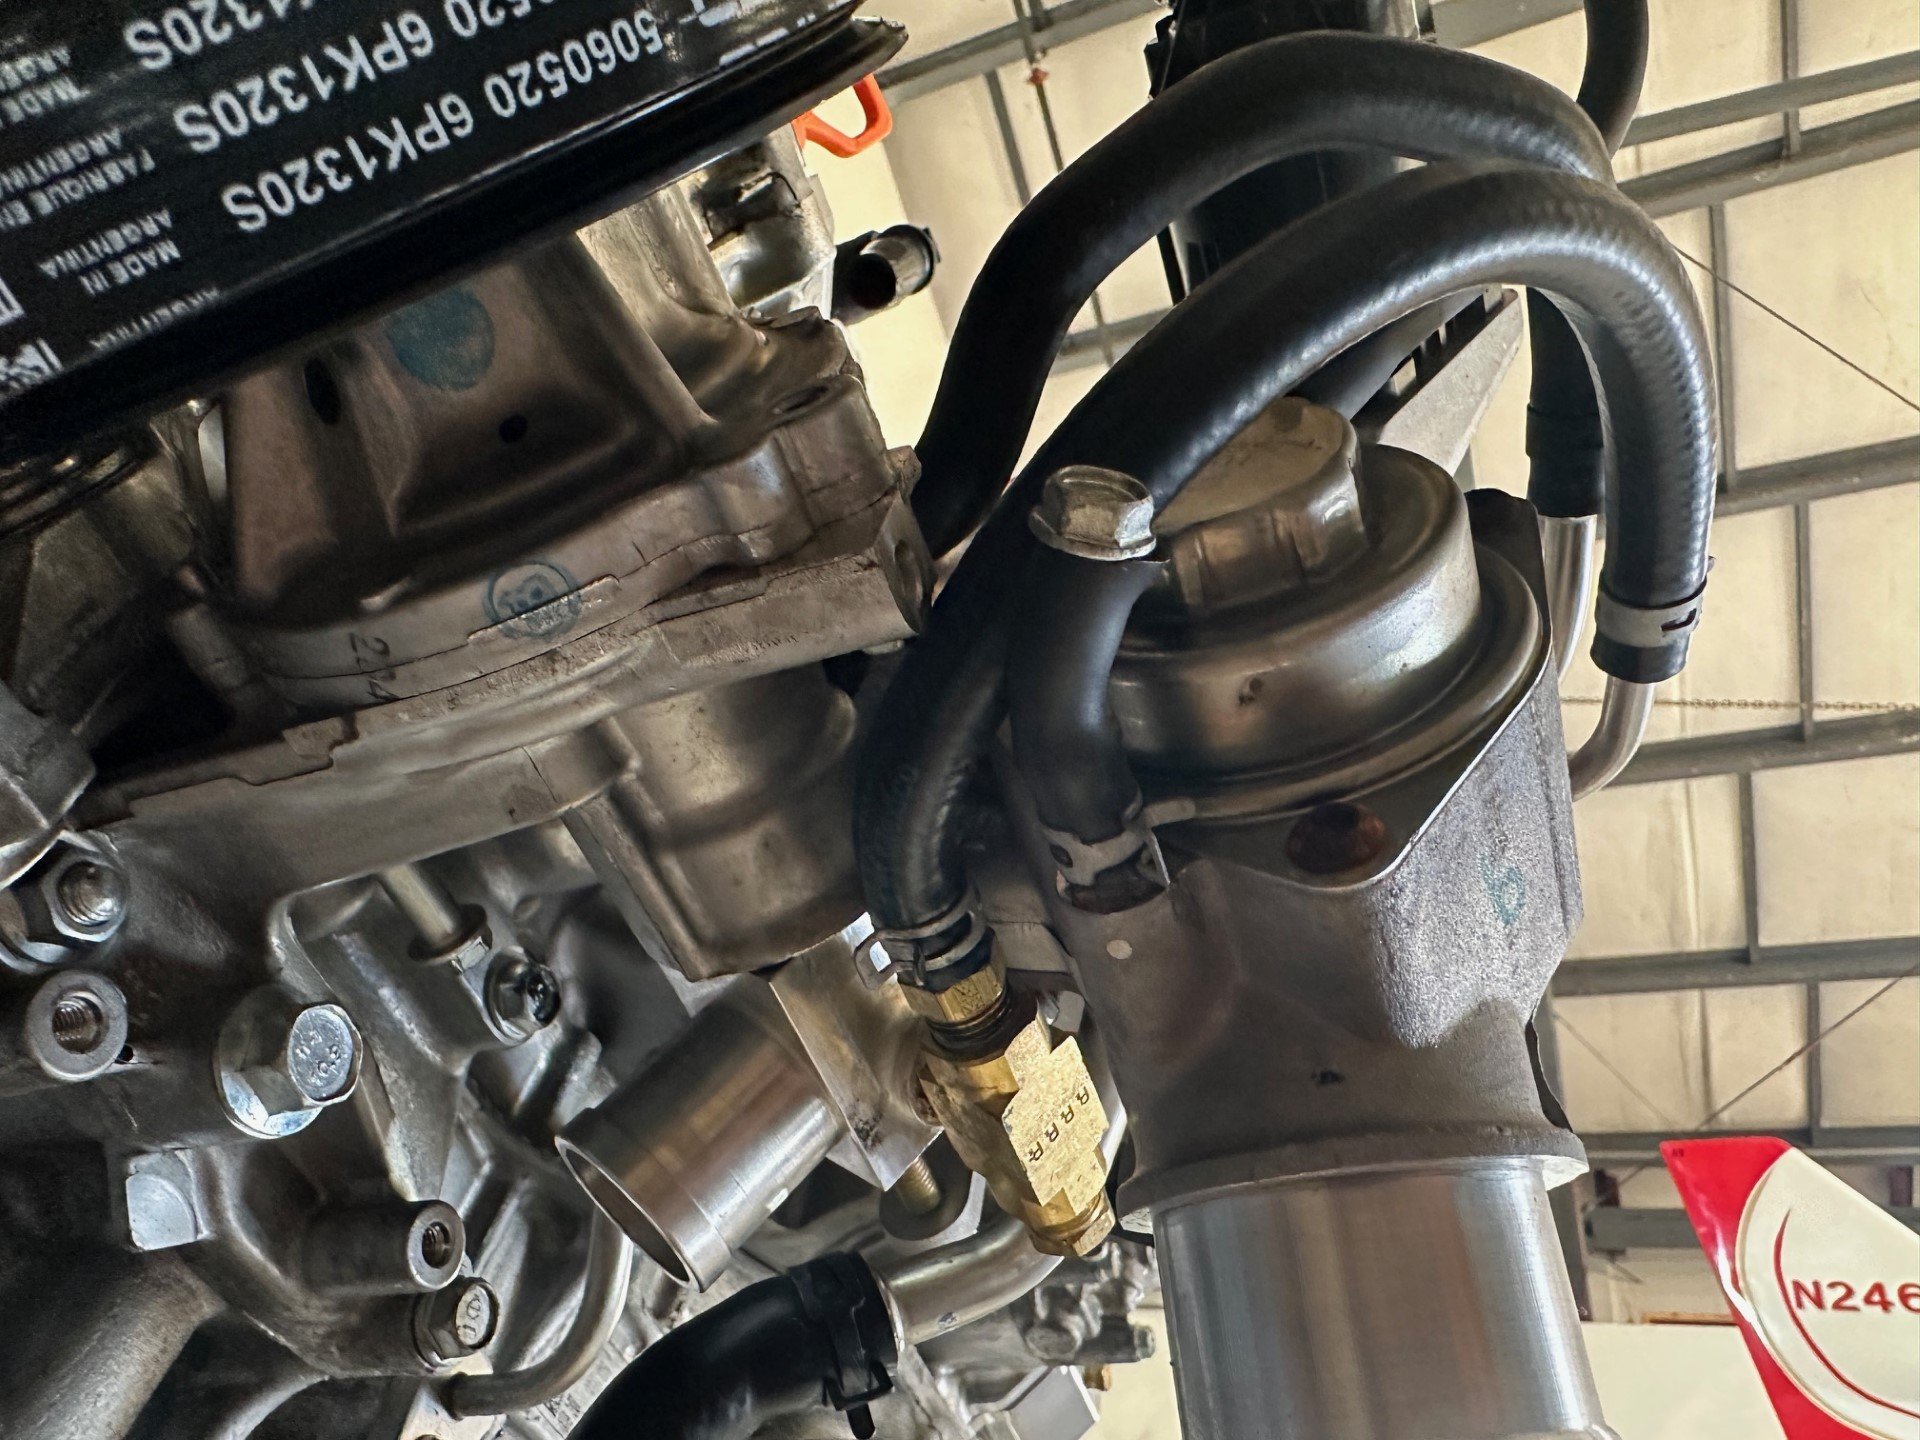
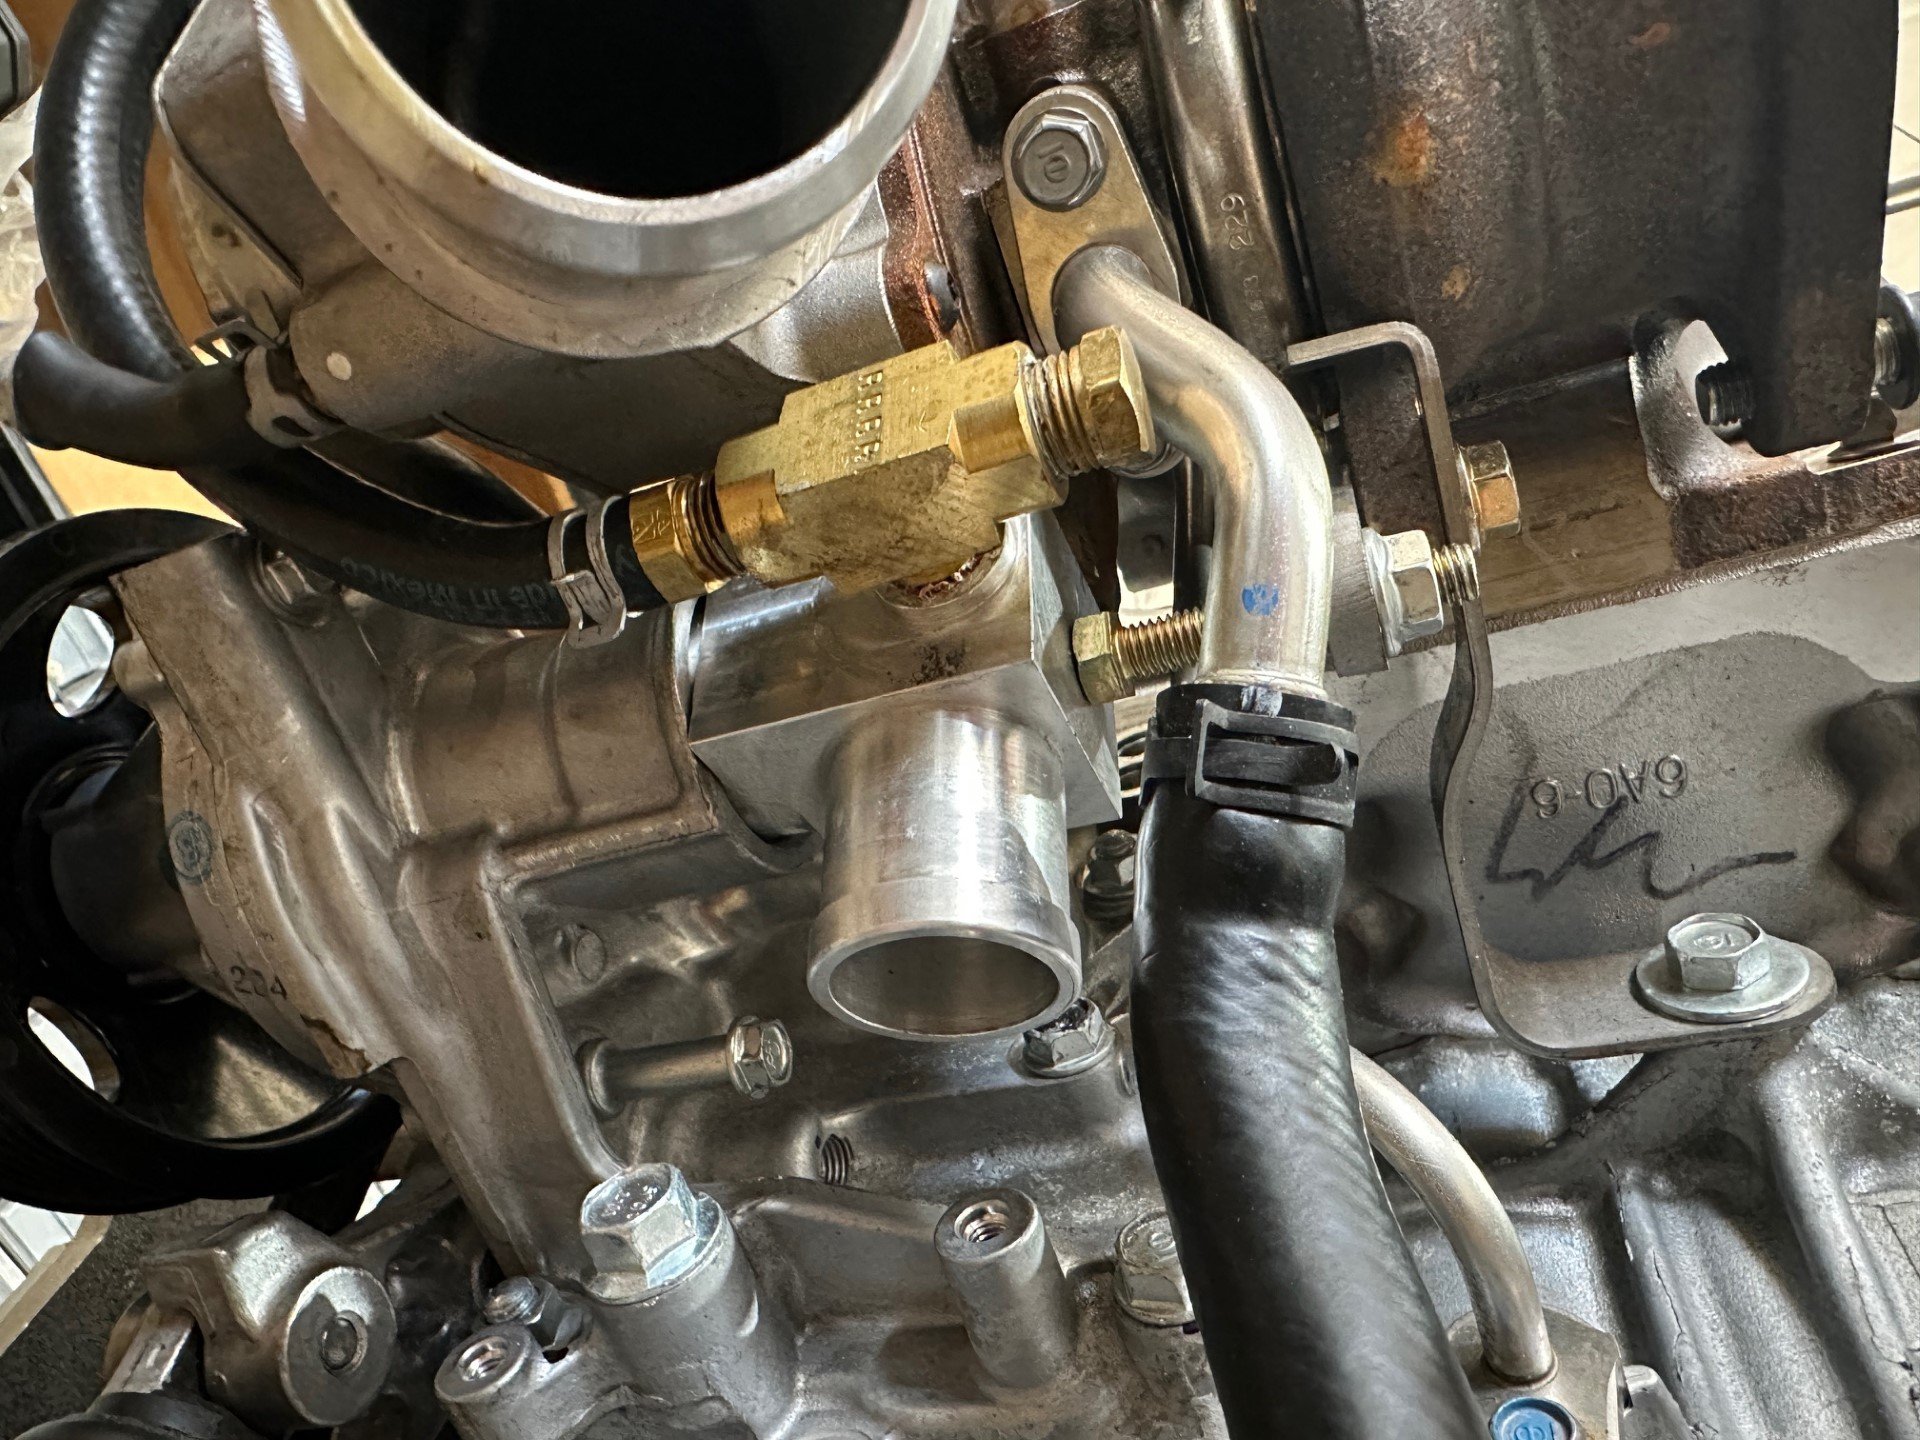
Latest turbocharger cooling and heater return hose routing. If you have the latest (2023) machined cooling outlet, this is how the hoses run. The heater return goes to the brass plug.
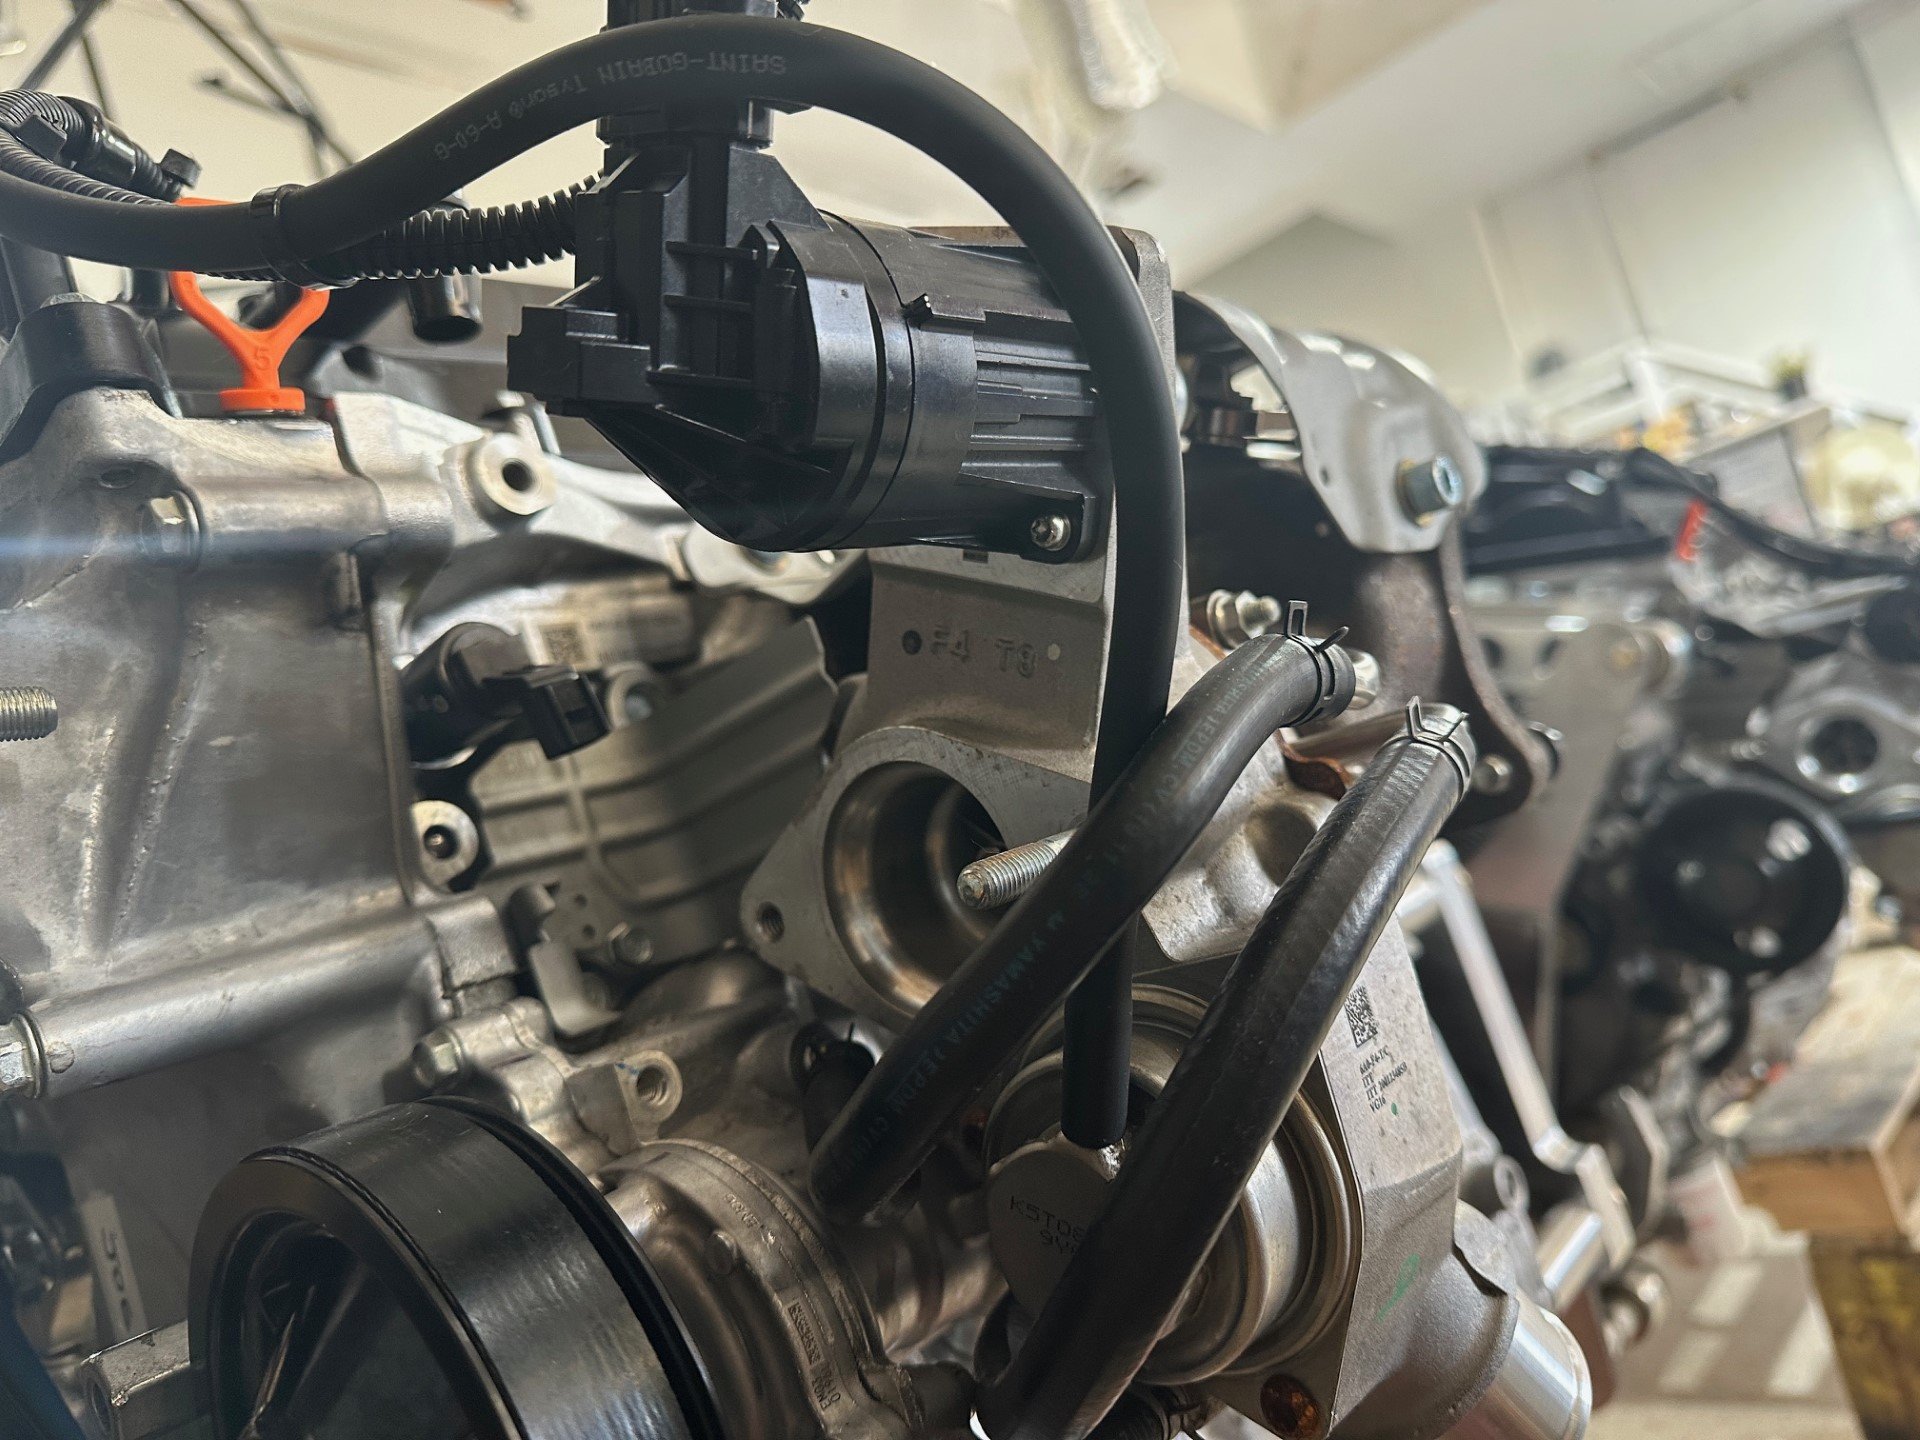
Thermostat for the Viking 195T should be installed as shown in the Viking 175 video

Thermostat placement on the Viking 195T
RANS S21 Radiator Air Box Install
Radiator, Shroud and Cowling for Larger engine options


Turbocharged Engines: Do not run without cowling unless an intercooler scoop is attached to the intercooler. In some installations, the scoop is part of the cowling